Placeholders
A placeholder refers to the fields you are populating within your document using docCentral. There are a few types:


The placeholders are filled up by answering questions in your customised FormSG form. Once the response has been submitted, the placeholders will be replaced with the user's response. You may use any common fields (Short/Long Answer etc.) as required by your template in your FormSG form.
Placeholder names are purely alphanumeric (letters and numbers only) and underscore _. An exception to this rule is only for the Formula Placeholder. Accordingly, each FormSG form question have to be affixed with a tag that corresponds with the placeholder name.
Example of correct placeholder names:
staffName ✅no_of_staff_present ✅Example of wrong placeholder names:
dinner&danceAttendee ❌Reason: No special characters are allowed, except for underscore _, and arithmetic operations in the formula placeholder.
laptops per department ❌Reason: No spaces are allowed.
Tags
Tags are represented in the form [name_of_staff] (text enclosed in square brackets) for example. For each relevant question that is trying to fill up a placeholder, a corresponding tag needs to be affixed within the question for docCentral to make the link.
For example, if your placeholder name is headcount, then [headcount] needs to be within the FormSG question.

Without a tag, the corresponding placeholder in the Word document will not be populated.
Only one tag per question is supported. Multiple tags beyond the first will be ignored by docCentral.
Short/Long Placeholder
A short/long placeholder can be used when you are trying to replace text or fill text blanks, dates or other relevant fields within your Word document. Common use cases would be to fill in department names, NRIC/telephone numbers and descriptive action verbs.
Replacing Text
Step 1
Highlight the text to be replaced with the placeholder.
Step 2
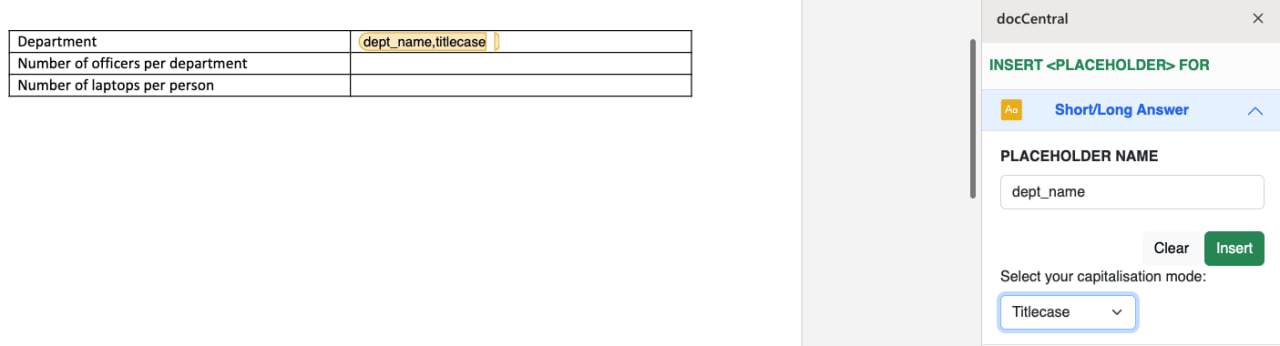
Under the "Short/Long Answer" section in docCentral Add-in, click on the drop-down arrow and enter your desired placeholder name.
Step 3
Choose the capitalisation options in which the final text will adhere to, in the dropdown option. This can be set to lowercase, uppercase, and more.
Step 4
Click "Insert" to insert your placeholder.
It should look something like this:
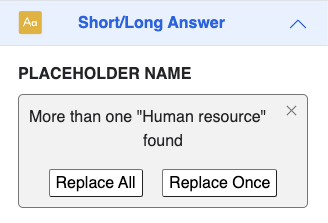
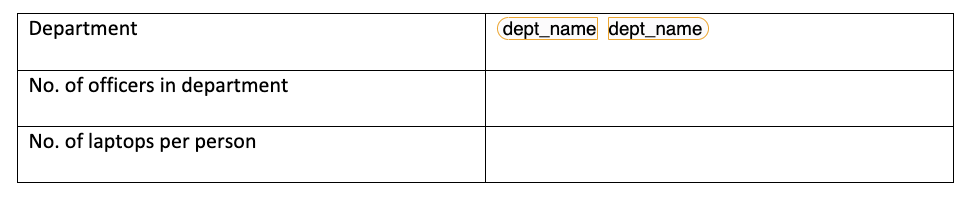
If more than one instance of the selected text is found in the document, docCentral will let you choose if you would like to enclose the other instances of the text with the same placeholder. To choose this option, select "Replace All". Otherwise, choose "Replace Once".
Filling text blanks
Step 1
Left-click on where text is to be populated within the document.
Highlight the text to be replaced with the placeholder.
Step 2
Under the "Short/Long Answer" section in docCentral Add-in, enter your desired placeholder name and click "Insert". It should look something like this:
Advanced Function: Filling consecutive words
You may also use the checkbox field in FormSG to fill up short/long placeholders. This is especially useful when you are trying to fill statements with verbs, or sentences that have many action words consecutively.
This functionality is better illustrated with an example. In this case, we have a sentence with 3 actions to fill in (“Paid Medical Leave”, “Additional Paternity Leave upon Request”, and “21 days of leave”).
Step 1
In your Word document, place one short/long placeholder where required, like so.

Step 2
In FormSG, add in the checkbox field, with your options, and remember to put the tag on the checkbox question.

Step 3
Choosing more than 2 options will trigger docCentral to automatically append any commas or “and” where grammatically appropriate.
If the form filler chose all the options as per the question above, commas and “and” are added where required and the resulting document generated will look like this:

This reduces the need for you to physically type out the whole sentence every time a similar type of sentence appears in your document.
Number/Decimal Placeholder
The number/decimal placeholder can be used to populate only numbers and decimals throughout your Word Document. It can be used to replace or fill numbers and decimals as required. The steps for the insertion is the same as the short/long placeholder.
Common uses for this placeholder include displaying amount of stock, writing down the cost price of a product and so on.

You are also able to configure the decimal places to display. Default choices are 0 and 2, with an "Other" selection to fine-tune your desired amount of decimal places. Your value is rounded to fit into your chosen amount of decimal places.
Formula Placeholder
There are two types of Formula Placeholders: (1) Numerical Formula Placeholder, (2) Date Formula Placeholder. They perform arithmetic operations with user responses. The variables used must either be a:
- User-entered number;
- Number/Decimal Placeholder; or
- Date Placeholder
Numerical Formula Placeholder
The Numerical Formula placeholder uses these specific symbols to perform the operations:
+for addition-for subtraction*for multiplication/for division^for numbers raised to a power()to enclose operations with higher priority.
Start by giving a unique name for your Numerical Formula Placeholder, thereafter, specify the arithmetic operators on your number/decimal placeholder, and select the required decimal places.
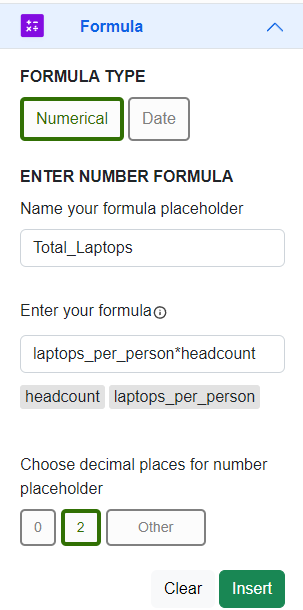
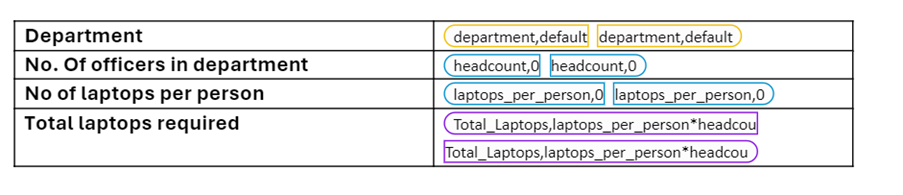
Thereafter, your Microsoft Word template should look something like this:
Linking to FormSG
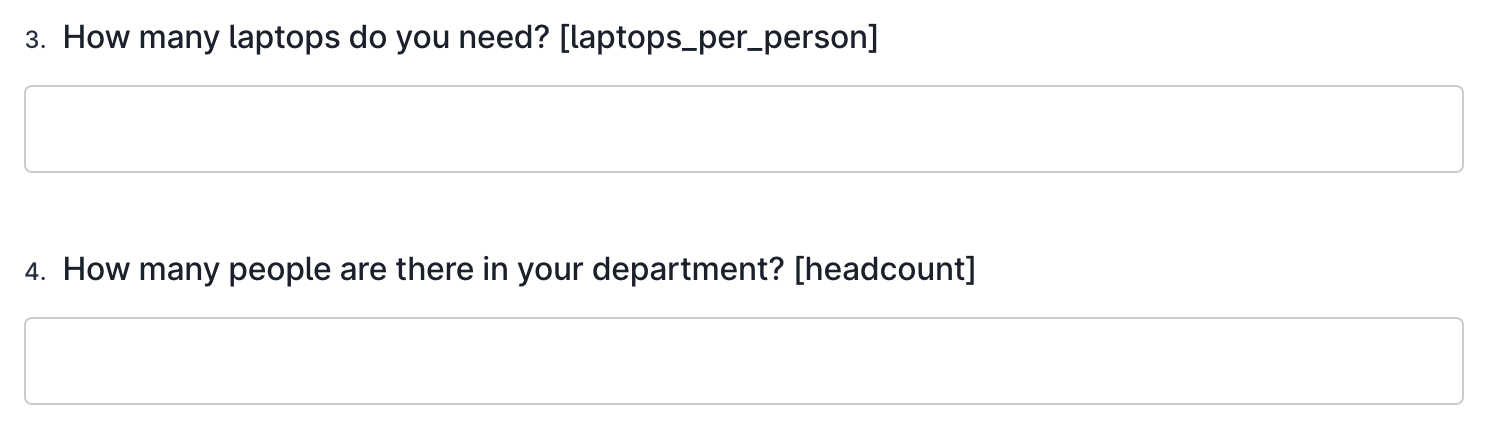
For the Numerical Formula Placeholder to work, the variables used in the formula must be a number/decimal placeholder &/or number. These number/decimal placeholders must also appear in your ForrmSG with their corresponding tags.
In this example, the variables are laptops_per_person and headcount and this is what it would look like in FormSG:
Date Formula Placeholder
The Date Formula Placeholder uses these symbols to perform the arithmetic operations:
+for addition-for subtraction
To create a Date Formula, simply follow 2 steps:
Step 1:
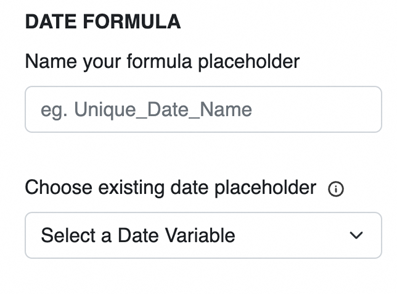
Give a unique name for your Date Formula Placeholder and select an existing Date Placeholder that you have previously entered in the date section.
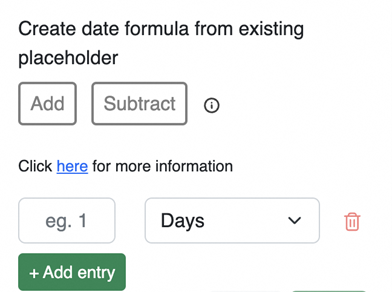
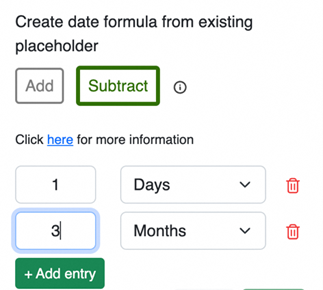
Step 2:
Next, choose the arithmetic operation you want to perform: Add or Subtract. Then, select the unit you want to apply, such as days, months, years or working days. You can select multiple units in the formula (e.g. add 1 day and 3 months)
Signature Placeholder
The signature placeholder is used to specify the location of where users' need to sign.
To use this signature placeholder, you only have to take note of these 3 steps.
Step 1:
Select Signify as your output destination and upload your Signify API key in the docCentral portal.

Step 2:
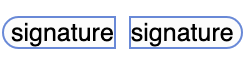
In your Microsoft Word document, specify the signature placeholder name and insert it at the location on the document where you want the signature to be captured.
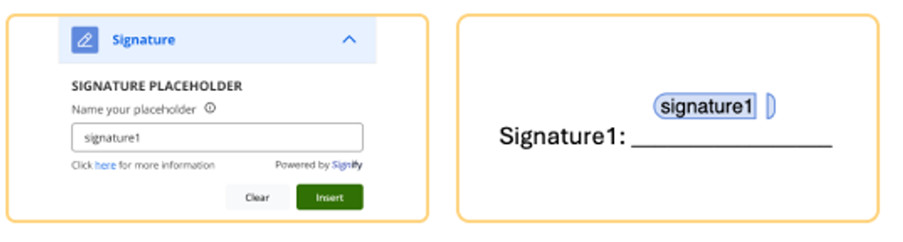
If you need the user to sign at multiple locations, simply repeat this process with different locations in the document using the same placeholder name.
Step 3:
Finally in FormSG, use the Email field and affix the respective signature placeholder tag e.g. [signature_1] beside/within your FormSG question.

Date Placeholder
The date placeholder can be used to populate only dates throughout your Word Document. The steps for the insertion is the same as the short/long placeholder.
Note that you need to select the date format in the dropdown options, which will be the final format that the date will appear in the document.

Getting Current Date
Creating a date placeholder on the word template with the name submission_date will have its input set to the current date without the need for data inputs. This is a new feature for users who want to include the date the document is generated on their document.
Linking to FormSG (Date Placeholder)
On the FormSG side, it is strongly recommended to use the Date Field for the date placeholder, as it is foolproof.
Using the short/long field on the formSG side for the date placeholder is also possible, but form fillers will have to manually type in dates in this specific format: 01 Jan 2020, which could lead to typographical errors.
Here are the differences when using the date field compared to using the short/long field in formSG:
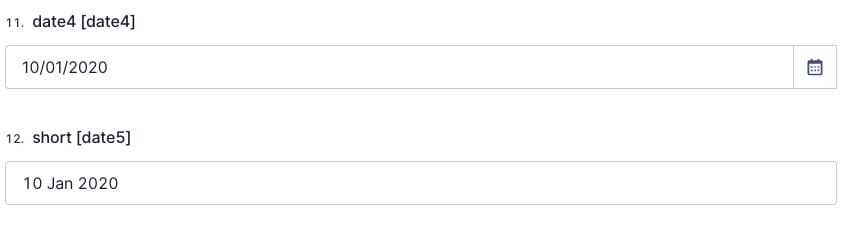
Table Placeholder
The table placeholder can be used to populate only tables throughout your Word Document. The placeholder will be replaced by an entire table.
The steps for the insertion is the same as the short/long placeholder.
Note that you have to insert a new line by pressing Enter before inputting a Table placeholder. Avoid inserting table placeholders as part of the same paragraph to prevent unexpected behaviour. This is because Tables, by default on Microsoft Word, should automatically be inserted on a new line.
| Correct Example ✅ | Incorrect Example ❌ |
|---|---|
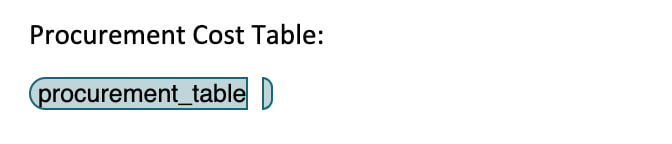 | 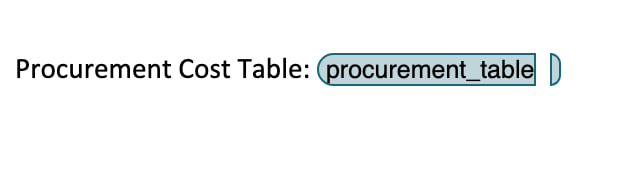 |
Linking to FormSG (Table Placeholder)
On the FormSG side, use the Table Field for the table placeholder. Set up the table headings and column as desired.
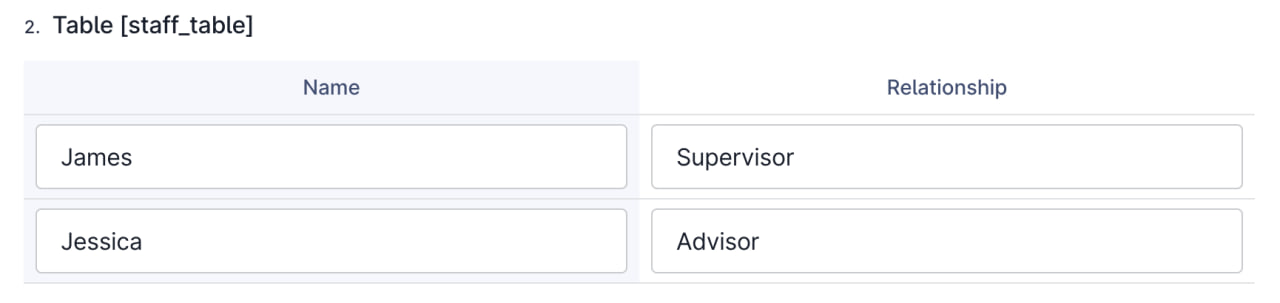
Example
After creating a table placeholder named staff_table on word, Set up the corresponding Table field in formSG:
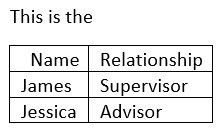
This is how the generated table looks like after form fillers fill in the table:
Inserting placeholders into Tables using the Add-in
Note: This is a separate issue from the table placeholder. This is regarding inserting placeholders in general, onto any table on a word document.
Pro tip: Fixing issues related to inserting placeholders in Microsoft Word Online when using tables
Sometimes, you may encounter issues inserting placeholders into a table on Microsoft Word. This is due to limitations on Microsoft Word Online. Follow the steps below to handle this issue.
Resolution Steps:
- Step 1
- Click on somewhere else in the document outside of the table and insert the desired placeholder there.
- Step 2
- Drag the placeholder to the desired location in your table.
Alternatively, you can copy and paste placeholders instead of dragging them around.
This is an easy workaround for those facing this issue!