Using CSV Inputs
To utilise CSV inputs, follow these steps:
-
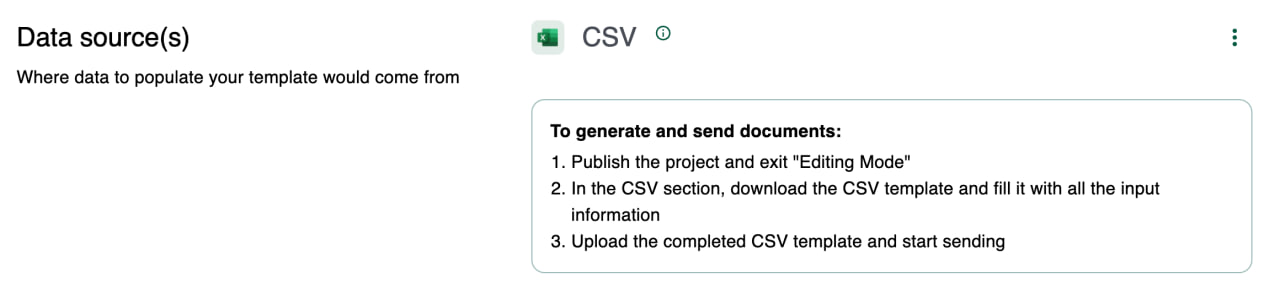
Choose CSV as the data source and complete the other project details, such as selecting document destinations.
-
Publish the project and click on View Project.
-
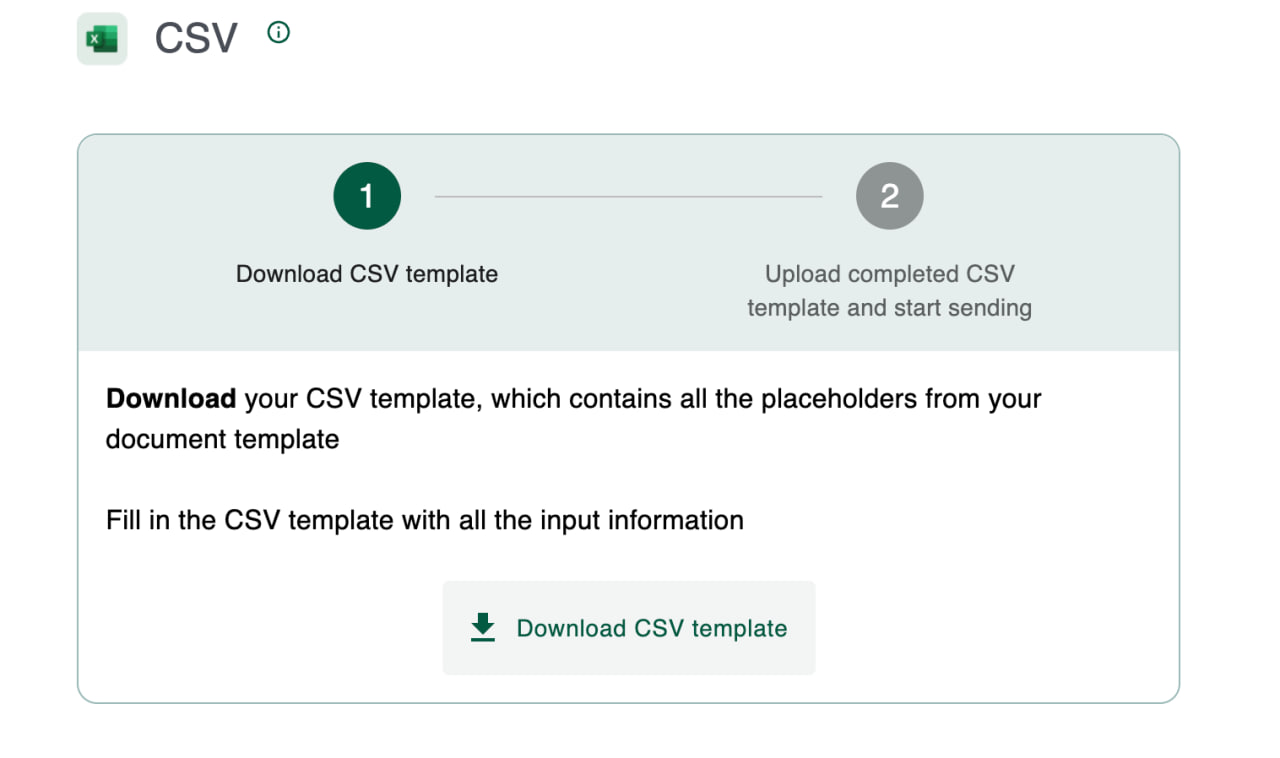
In the project's data source section, navigate to the CSV section, and download the CSV template.
-
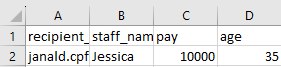
Complete the CSV template with the required input information. Refer to details on how to fill the template below.
-
Upload the filled CSV template under the same section.

-
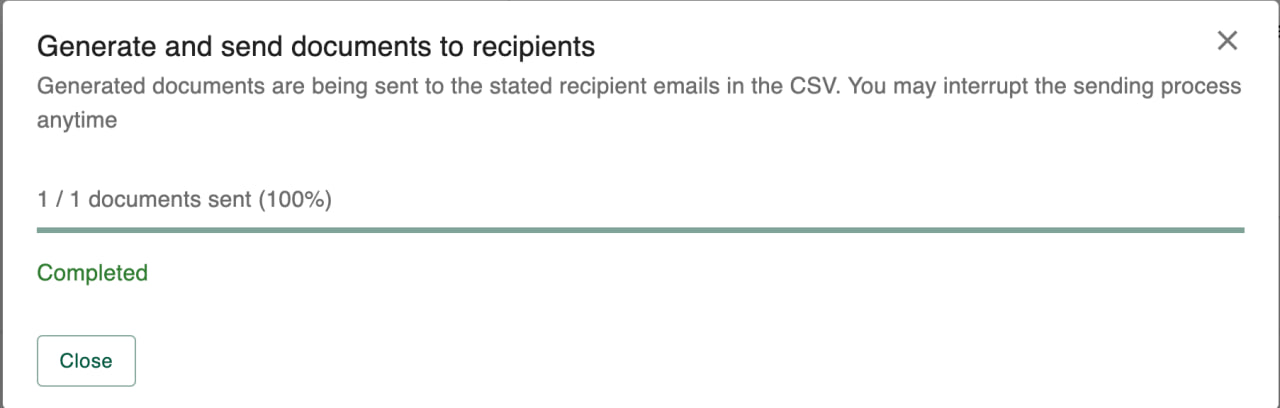
Click "Start sending" and the document will be automatically generated and the sending process will commence.
How to fill CSV Template
Examples of how to fill the CSV template for each placeholder is shown below.
| Placeholder used in Microsoft Word template | Example CSV inputs |
|---|---|
| Short/Long | Jessica, just some plain text, one whole paragraph of words... |
| Numerical/Decimal | 35.01, 2 |
| IF | Enter true if the value is true, else leave blank |
| Date | 02 Jan 2020, 21 Nov 1999 |
| Table | [ [ 'Name', 'Relationship to Individuals', 'Marital Status' ], [ 'Jane', 'Mother', 'Married' ],[ 'Jack', 'Brother', 'Single' ],[ 'Ron', 'Father', 'Married' ] ] |
Before Sending Documents
Note that documents are sent out in bulks. Therefore, please double check the CSV template before clicking on Start sending. Clicking on Cancel will only stop further sending, and not unsend the documents that have already been sent.