Getting Started
Using docCentral for document creation requires setting up a Microsoft Word template with placeholders that will retrieve the relevant information from a linked data source. The first step would be to download and set up the docCentral Microsoft Word Add-In!
Note: Public Health Institutions (PHIs) may experience difficulty in using the docCentral add-in due to whitelisting requirements of external tools. The docCentral team is aware of this and we are working to whitelist the add-in for PHIs. In the meantime, for documents of low risk, you may consider creating the word template on your personal device, or reach out to us for assistance.
Step 1: Download Add-In
Navigate to the top right-hand corner of docCentral’s dashboard and click on “Download Add-In”. Save the file at a convenient location in your laptop as you will need to upload this Add-In each time you create a new template with docCentral.

For related FAQs on the docCentral add-in, please visit this page.
Step 2: Prepare the Word Document
docCentral’s Microsoft Word Add-In currently only works on Word Online.
On your desired browser, go to www.office.com and sign in.
First, create a new document on Word Online by clicking on “Create” at the left-hand side panel, then “Blank Document”.

If you have an existing Word template you wish to use, you will have to make it available on Word Online. There are 2 methods to do so.
Method 1: Copy/Paste (Recommended)
The Copy/Paste method is preferred over directly uploading the document as it reduces the likelihood of having unsupported elements in your document.
Open your own Word template on your computer. Click [Ctrl/Cmd + A] to select that whole document, copy the contents by using [Ctrl/Cmd + C] and paste them by using [Ctrl/Cmd + V] onto your newly created Word Online document. Your document is then ready to be used.
Note: You may notice that some elements might be out of place. This is normal. When you download your document again after using docCentral, it will appear exactly as it does in your local copy.
Method 2: Upload Document
This approach is not recommended as some elements may be unsupported by Microsoft Word online.
Simply click “Upload” to upload your document.

When preparing your word template, ensure you use one of the following supported font types for optimal compatibility with docCentral:
- Andale Mono
- Arial
- Arial Black
- Comic Sans MS
- Courier New
- Georgia
- Impact
- Times New Roman
- Trebuchet MS
- Verdana
Step 3: Upload docCentral Add-In
From the Word document ribbon bar, select “Home”, followed by “Add-Ins”:

If “Add-Ins” is not visible in the ribbon bar, you may have to click on the three-dot icon or right arrow icon located on the far right.
 For previous versions of Microsoft Office, “Add-Ins” may be under the “Insert” tab.
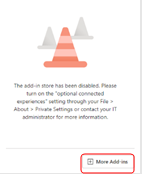
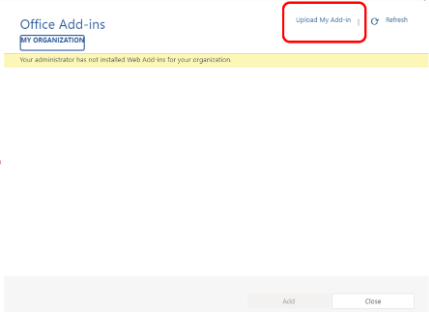
Next, click on “More Add-Ins”. Then, click on “Upload My Add-In”, and upload the docCentral Add-In that you have downloaded in Step 1.
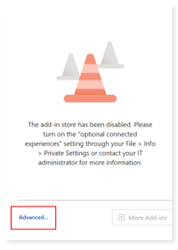
If the “More Add Ins” button is not available, you may click on “Advanced…” instead to upload your add-in.
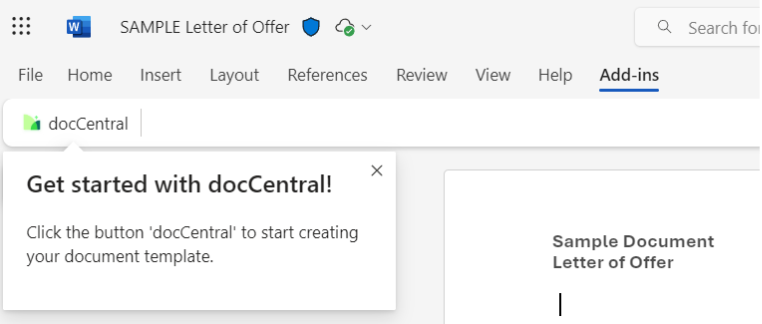
Now, docCentral should pop up in your menu panel. If not, toggle to the “Add-Ins” tab and click on docCentral’s logo.
Note: Each time you open a new Word document, you may have to upload docCentral’s Microsoft Add-In again by repeating Step 3.
Click on the docCentral icon on the top left, and you would be greeted by the side panel on the right of your document.
 That’s it! You can now use docCentral to create your templates!